

Contains affiliate links.
These Memorabilia Pockets were inspired by the lovely little kraft paper pockets found in We R Memory Keepers Album Made Easy packs. I did a few different sizes and styles to figure out what I liked best! Here are the finished products:
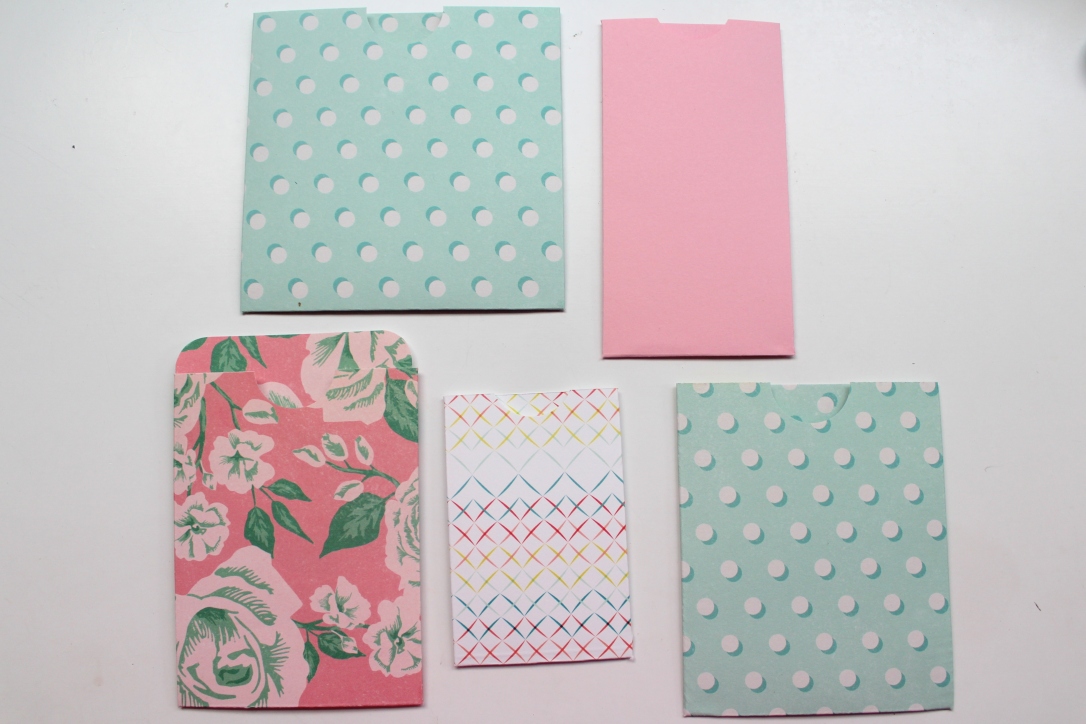
The measurements you need are very simply 1/2 inch longer both length and width for the top piece and exact length and height for the bottom piece. So, for example, if you want a 3 inch by 4 inch pocket, the top piece would be 3 1/2 x 4 1/2 and the bottom piece would be 3 x 4.
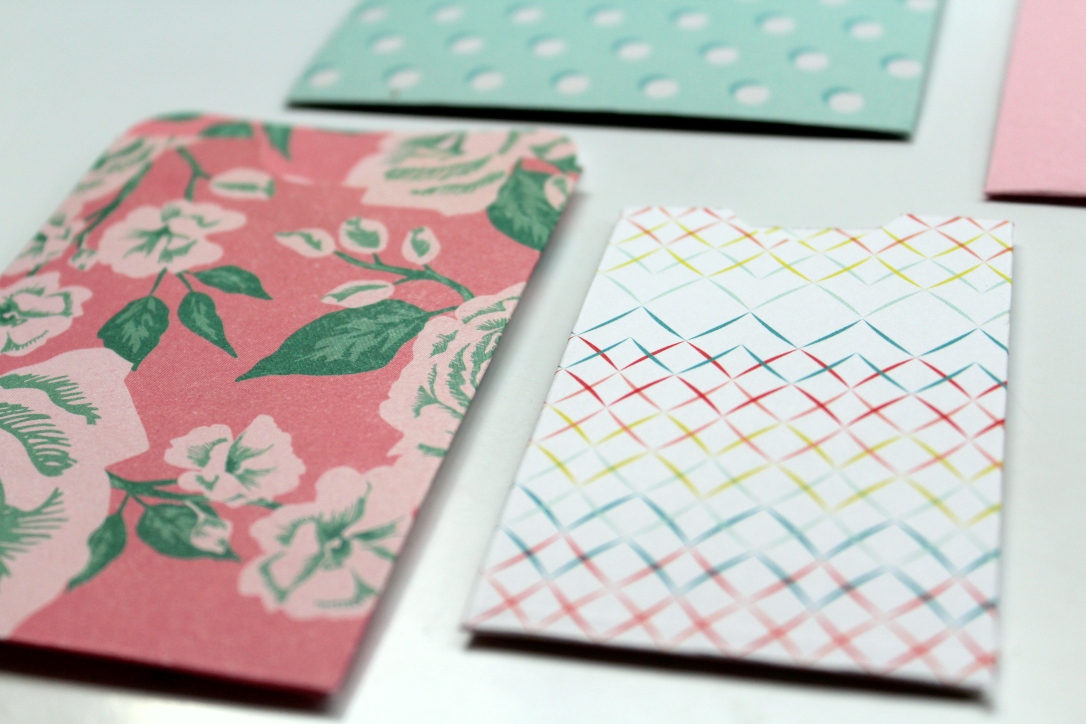
I used a 1 inch circle punch to make the indentation on the top piece and then used a Martha Stewart Scoring Board and Bone Folder to make a crease at the 1/4 mark on the right and left sides, then at the 1/2 mark on the bottom side of the top piece. Finally, carefully folded all scored sides down and glued them on to the bottom piece.
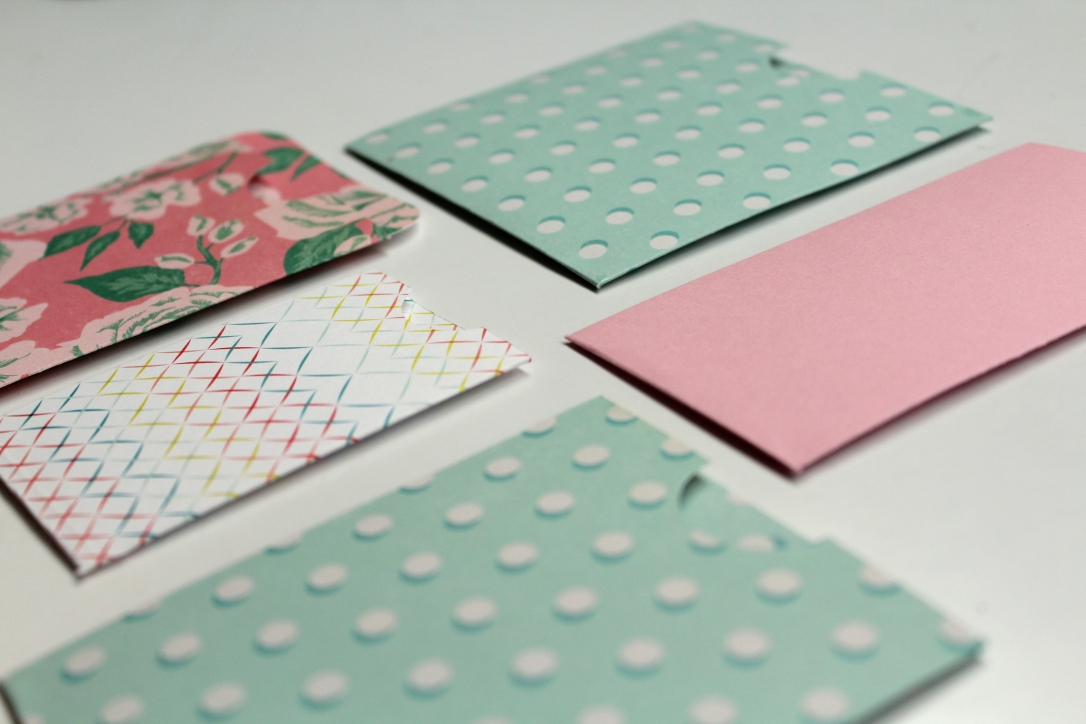
Super easy and quick to make with any patterned paper or cardstock of your choice! Here’s a quick video showing this tutorial in action:
Let me know what you think in the comments below! Subscribe to my Youtube channel if you’d like to see more DIY Tutorials!

uhmm,, i have a lot of cardstocks ,i think i will make one later, thank for the sharing and an idea 😀
https://www.themomslifecycle.com
LikeLiked by 1 person